How I Also Hacked my Car
• goncalomb • hacking,car,dacia,rpi
This blog post is kind of inspired by another that I saw on HN some time ago, “How I Hacked my Car”. After praising the infotainment system of the car, a Hyundai IONIQ, the author ends up hacking it and running custom software on the head unit.
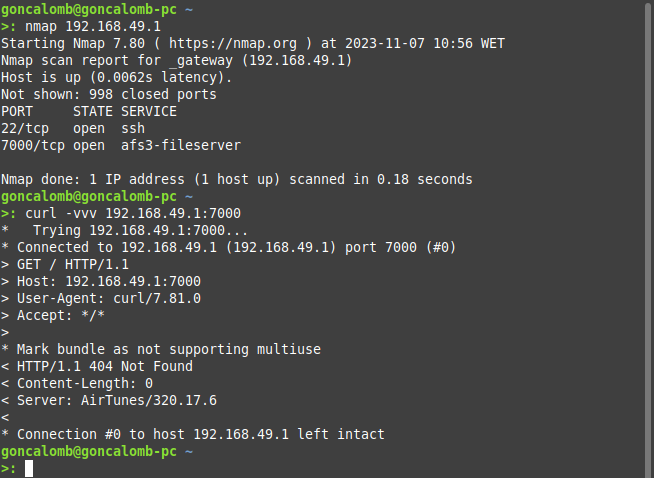
Well, my much cheaper 2023 Dacia Sandero also has a decent infotainment system with navigation and wireless Android Auto.
Even before I got the car, I searched around to see if the system was hackable. I was not surprised to find that a simple USB drive with an autorun.sh script gets run as root. A classic. Various forums around the web use this method to change skins and side-load navigation maps. I was not interested in that, my goal was also to run some custom software.
Well, there is more to the story, otherwise, I would just that autorun.sh “feature”.
The Infotainment System
The system is a MediaNav Evolution from Renault (which Dacia is a subsidiary of), built by LG (FCC ID: BEJLAN5900WR). It’s a Linux box.
Over the years there have been various iterations of this system, the older devices used WinCE.
The navigation part of the software is by a company called NNG (iGO?). Apparently, they provide navigation software for many other devices.
The autorun.sh
Just by looking around on various forums, I knew of 3 special files that when placed on a USB drive would trigger some debug functions:
autorun_bavn/autorun.sh: a script that gets run as rootlogfiles_bavn: a directory that gathers various system logs and filesusb_logging: a directory where the system continually dumps dlt files (proprietary log system)
One good thing about the log files is that they contain the Wi-Fi password for the AP. This password can be reset on the UI, but it’s never visible. Knowing the password allows other devices to connect to it (e.g. PC). When using wireless Android Auto it connects automatically, I think it bootstraps using Bluetooth.
I was most interested in the autorun.sh… But it was not working, I couldn’t get the script to run.
The Firmware
At this point, I decided to start inspecting the firmware to see what was wrong, and if there was another way in. My device came with version 6.0.9.9.
I wanted a recent update file, but the official website doesn’t provide a direct download.
It requires installing a desktop application, “Toolbox”, which I ended up doing. The application can be used to buy map updates or download firmware/OS updates for free.
The procedure starts with collecting some information about the system/car to a USB drive. After connecting it to a PC, the “Toolbox” software detects a new update and puts the new update file on the drive.
I didn’t update it, I just wanted the file, it was version 6.0.10.2:
>: file upgrade.lgu
upgrade.lgu: POSIX tar archive (GNU)
I also had an older update file, version 6.0.9.7, that I found in some random forum.
Sometimes even
grepcan be a great analysis tool. Just by runninggrep -RF autorun.shon the contents of both the new and old firmware, I could see that the new one had no matches.
Time to load Ghidra and see what’s going on…
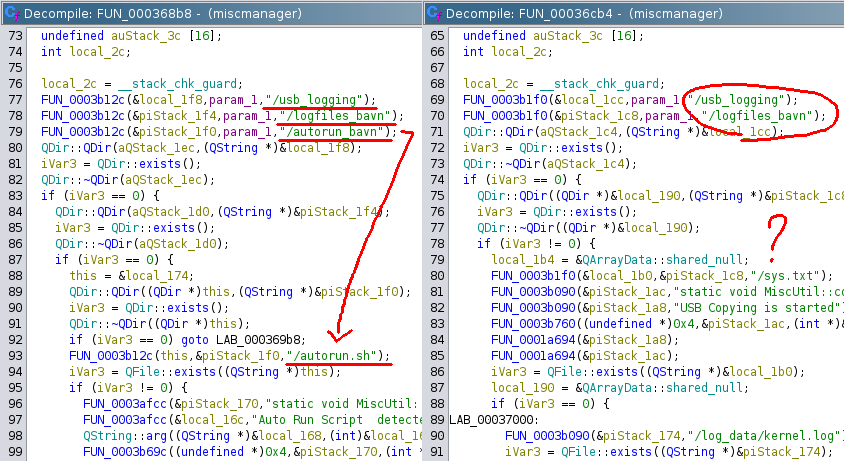
Comparing the 2 files it was evident that they had removed the autorun.sh backdoor. Even though I didn’t have the specific firmware for my installed version (6.0.9.9), it was clear that mine didn’t have it and that’s why I could never get it to work.
This miscmanager file is also responsible for the other USB debug features, these are all still there.
The core OS appears to be from GENIVI/COVESA (GitHub: GENIVI/COVESA). I’m not familiar with these systems at all. They have a fair bit of open-source stuff that will probably explore in the future.
I decompiled other binaries to try to look for some other interesting stuff. Found a lot of D-Bus stuff, that will be useful for getting vehicle information when I can run my own software. But my goal was to get root access first.
One way would be to craft a new update file with a backdoor, which would require reverse engineering the whole upgrade procedure, and as expected the update files do have some signature hashes that presumably need to match.
Getting root access directly would be the preferred way.
The Android Update App
Something I noticed on the official website was that they were promoting a new way to update the maps, using an Android phone app.
Could this be my way in?
The description on Google Play promises to “Eliminate the Sneaker Network”, an expression that I had never heard, in reference to not requiring a USB drive.
Of course I didn’t install it, there is no point in that. I just searched the id com.nng.pbmu.dacia on Google to find one of the many sites that offer the .apk file for download.
I’m not an Android developer, I just know that deep inside there is some bytecode that traces its root back to Java, and I know Java. I don’t care about Dalvik, ART, Zygote, or whatever. Just give me those Java classes.
Over the years I’ve decompiled a few Android apps, my preferred way is just to unpack the .apk as a .zip (that’s all it is), get the .dex bytecode files, run them through dex2jar to get some .jar files and open them with good old JD-GUI. Recently I’ve discovered jadx which provides a better experience for decompiling apps.
To my surprise the app was quite complex, it appears to include some sort of native bindings, and most of the functionality is implemented in some kind of proprietary .xs scripts (similar to JavaScript). These are found on the app’s resources.
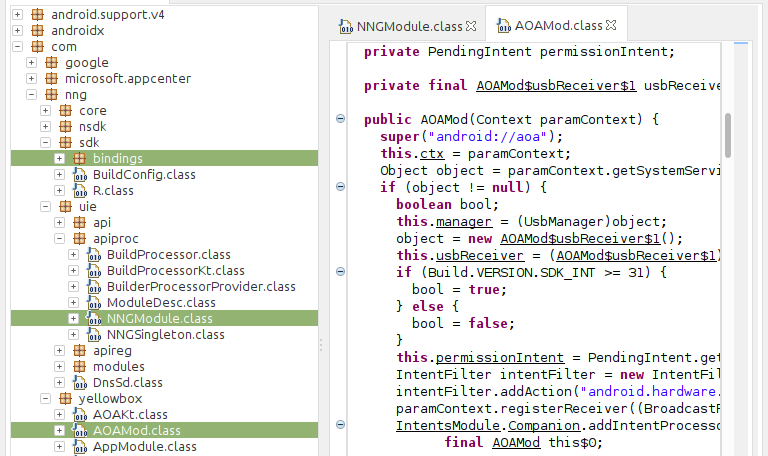
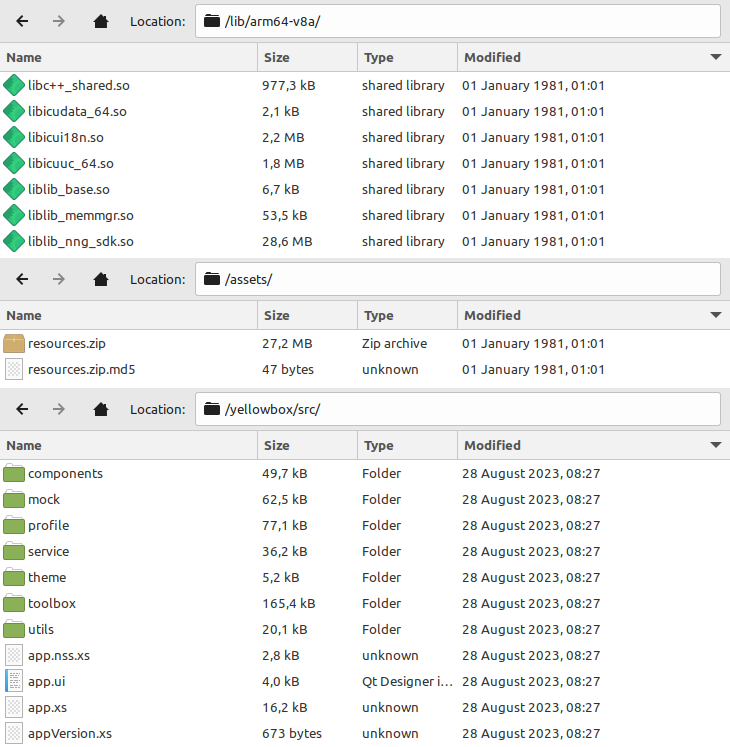
It appears that the liblib_nng_sdk.so library is responsible for running these scripts, but I didn’t explore it further. My goal was just to focus on what kind of protocol was used to update the maps on the device.
And I found it in the file nftp.xs.
NFTP!? Is it standard FTP?
No, it’s not standard FTP or any other known protocol that I could find. It’s a new binary protocol for transferring files, implemented on these .xs scripts.
The app then uses Android Open Accessory (AOA) as the transport layer for the protocol. AOA was totally new to me, but after some reading, it was clear that it is just a way of establishing a standard for an accessory to talk USB with an Android device.
The names are confusing, the “accessory” is actually the USB host (in this case, the head unit) and the Android device is the USB peripheral.
The Other Side
The new update file that I had was version 6.0.10.2, which, according to the website, was the version required for the new update app to work. That naturally means that there is some specific service/code on that file to handle the update on the head unit side.
After some digging, I found it. It’s another set of .xs scripts, these run on a native interpreter. There is also a native binary, aoa2sock, that bridges the gap between USB (AOA) and the .xs scripts by providing a pipe for the transfer protocol.
It’s clear that this phone update feature is an afterthought, the binaries/scripts are not part of the standard upgrade filesystem, they are installed separately from a .ipk package file (yellowtool.ipk) when the system is updated. The internal name they use is YellowTool / YellowBox. And this is the only part of the entire system that is coded with these .xs scripts, everything else is just native binaries.
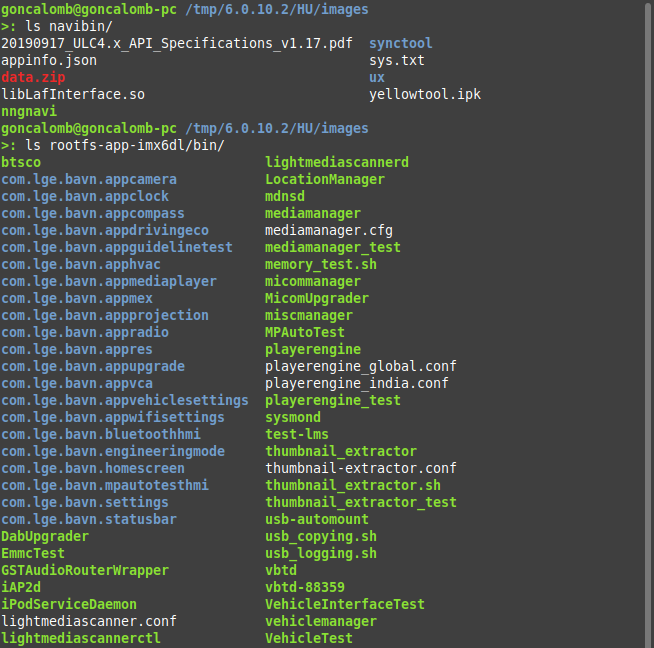
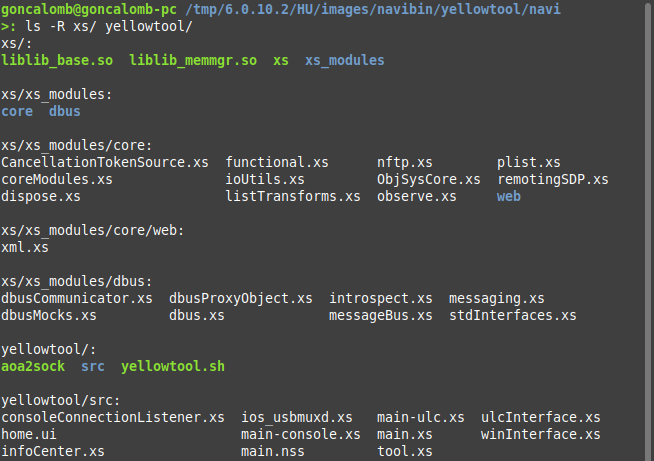
Being plain text scripts, it was relatively easy to understand what the protocol does and what kind of access it provides, even though the coding style is atrocious.
Constructing The Backdoor
At this point, just by reading the code, I was pretty sure that it was possible to write arbitrary files under the /navi directory, and that would give me full access if I carefully modified some files.
I just needed to create a fake Android update app and connect using AOA. Well, as I said before, I’m not an Android developer, so I went with the next best thing, the Linux Kernel.
As it turns out I’m also not a kernel developer… But I knew that it has something called gadget mode, where a device running Linux can act as a USB peripheral (instead of a host).
Could I make a Raspberry Pi act as an Android device in AOA mode?
Gadget mode can be configured from userspace using configfs (just by writing specific /sys/kernel/config/ files), this way does not require writing any kernel code, but it’s limited to specific “functions” already implemented in the kernel (e.g. serial port, mass storage, ethernet adapter etc).
Not unsurprisingly, that’s how the guys at Google implemented AOA, they added a new “accessory” function to the kernel. They even tried to push it upstream, but it went nowhere, currently, it’s not part of the Linux Kernel. I don’t think it will ever be, it’s probably too specific, and it’s kind of a weird protocol.
After reading more about AOA, it was clear that it involved a kind of handshake where the accessory asks the Android device for AOA, and after that, the device just acts like a serial port (a “raw” data pipe), and it’s up to the developer to do the rest (this is a simplification, and there are other modes, read more).
So maybe I could use the serial gadget function to fake an Android device already in accessory mode, without implementing the handshake.
I also found the talk where they first announced AOA, back in 2011. It’s a nice talk if you are into USB stuff:
The Testing Setup
The system is something like this:
- Android side:
- Update App / “nftp” (
.xsscripts) <=> AOA <=> USB
- Update App / “nftp” (
- Head unit side:
- USB (host) <=>
aoa2sock<=> “nftp” (.xsscripts) <=> [reads/writes system files]
- USB (host) <=>
For testing, I used 2 Raspberry Pies.
Because the head unit is ARM-based as is the Raspberry Pi, I was able to run the aoa2sock binary and .xs interpreter from the firmware, this simulated the head unit and acted like a USB host.
The other RPi was the USB peripheral (using the On-The-Go, OTG port), which when configured correctly using the gadget mode, acted like an Android device in AOA mode.
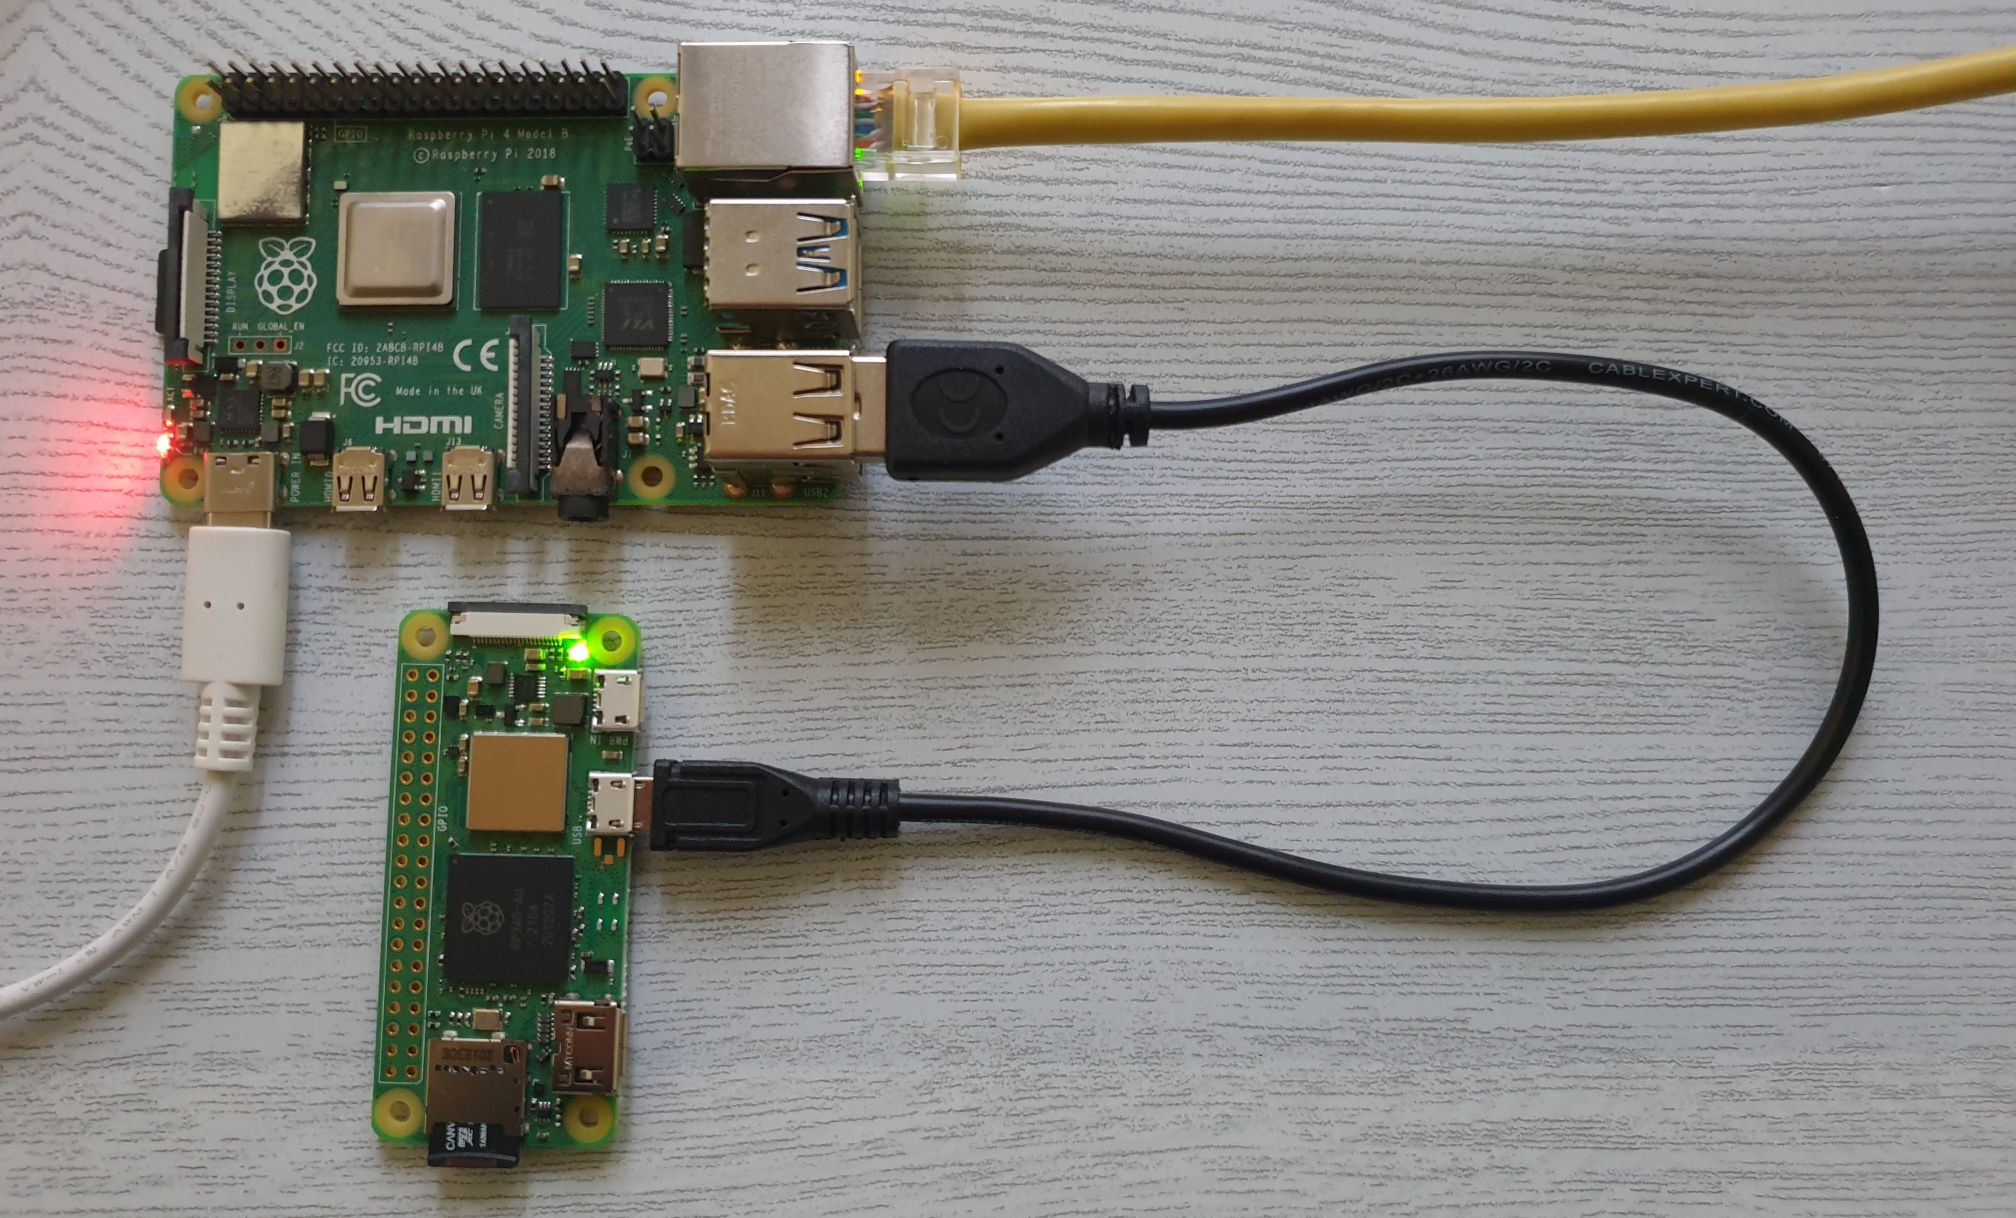
After messing about with multiple gadget configurations, I was seeing some promising debug messages from aoa2sock, that’s the binary extracted from the firmware that creates a pipe between the USB AOA and the weird “nftp” protocol (.xs scripts), on the head unit side.
But it was not working…
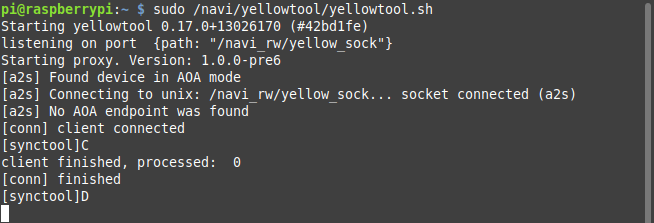
>: file aoa2sock
aoa2sock: ELF 32-bit LSB executable, ARM, EABI5 version 1 (SYSV), dynamically linked, interpreter /lib/ld-linux-armhf.so.3, for GNU/Linux 2.6.32, BuildID[sha1]=XXXXXXXX, with debug_info, not stripped
After inspecting the aoa2sock binary in Ghidra (thanks for the debug info) and reading the kernel code, I finally found the issue. The kernel serial port gadget uses a different USB subclass from the one used by AOA, and it can’t be changed from userspace.
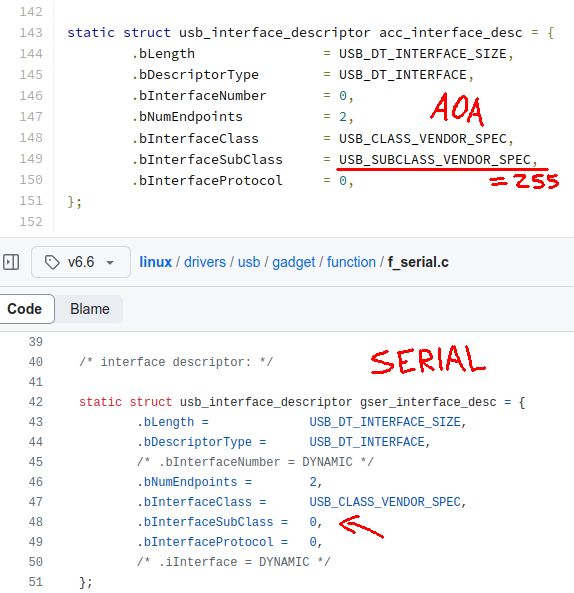
OK… Let’s patch the kernel
I ended up having to download the kernel source and patch the f_serial.c gadget function to change the USB subclass. After compiling the kernel module and loading it using modprobe, it finally worked and the aoa2sock binary recognized the device.

Can I call myself a kernel developer now?
All that was left to do was to somehow recreate that “nftp” protocol. I didn’t really want to use the proprietary .xs files implementation, so I wrote my own in Python.
At this point, I had all the pieces and the Raspberry Pi now replaced the Android app:
- Raspberry Pi side:
- Python Script (“nftp” implementation) <=> USB Gadget Mode (emulates AOA)
- Head unit side (same as before):
- USB (host) <=>
aoa2sock<=> “nftp” (.xsscripts) <=> [reads/writes system files]
- USB (host) <=>
Creating the backdoor involved issuing “nftp” commands to edit a specific file under the /navi directory and inject a call to a bash script, this bash script (also uploaded using “nftp”) contains the payload that runs as root.
H4cking Time
After much testing with my dual RPi setup, I was confident that it was going to work…
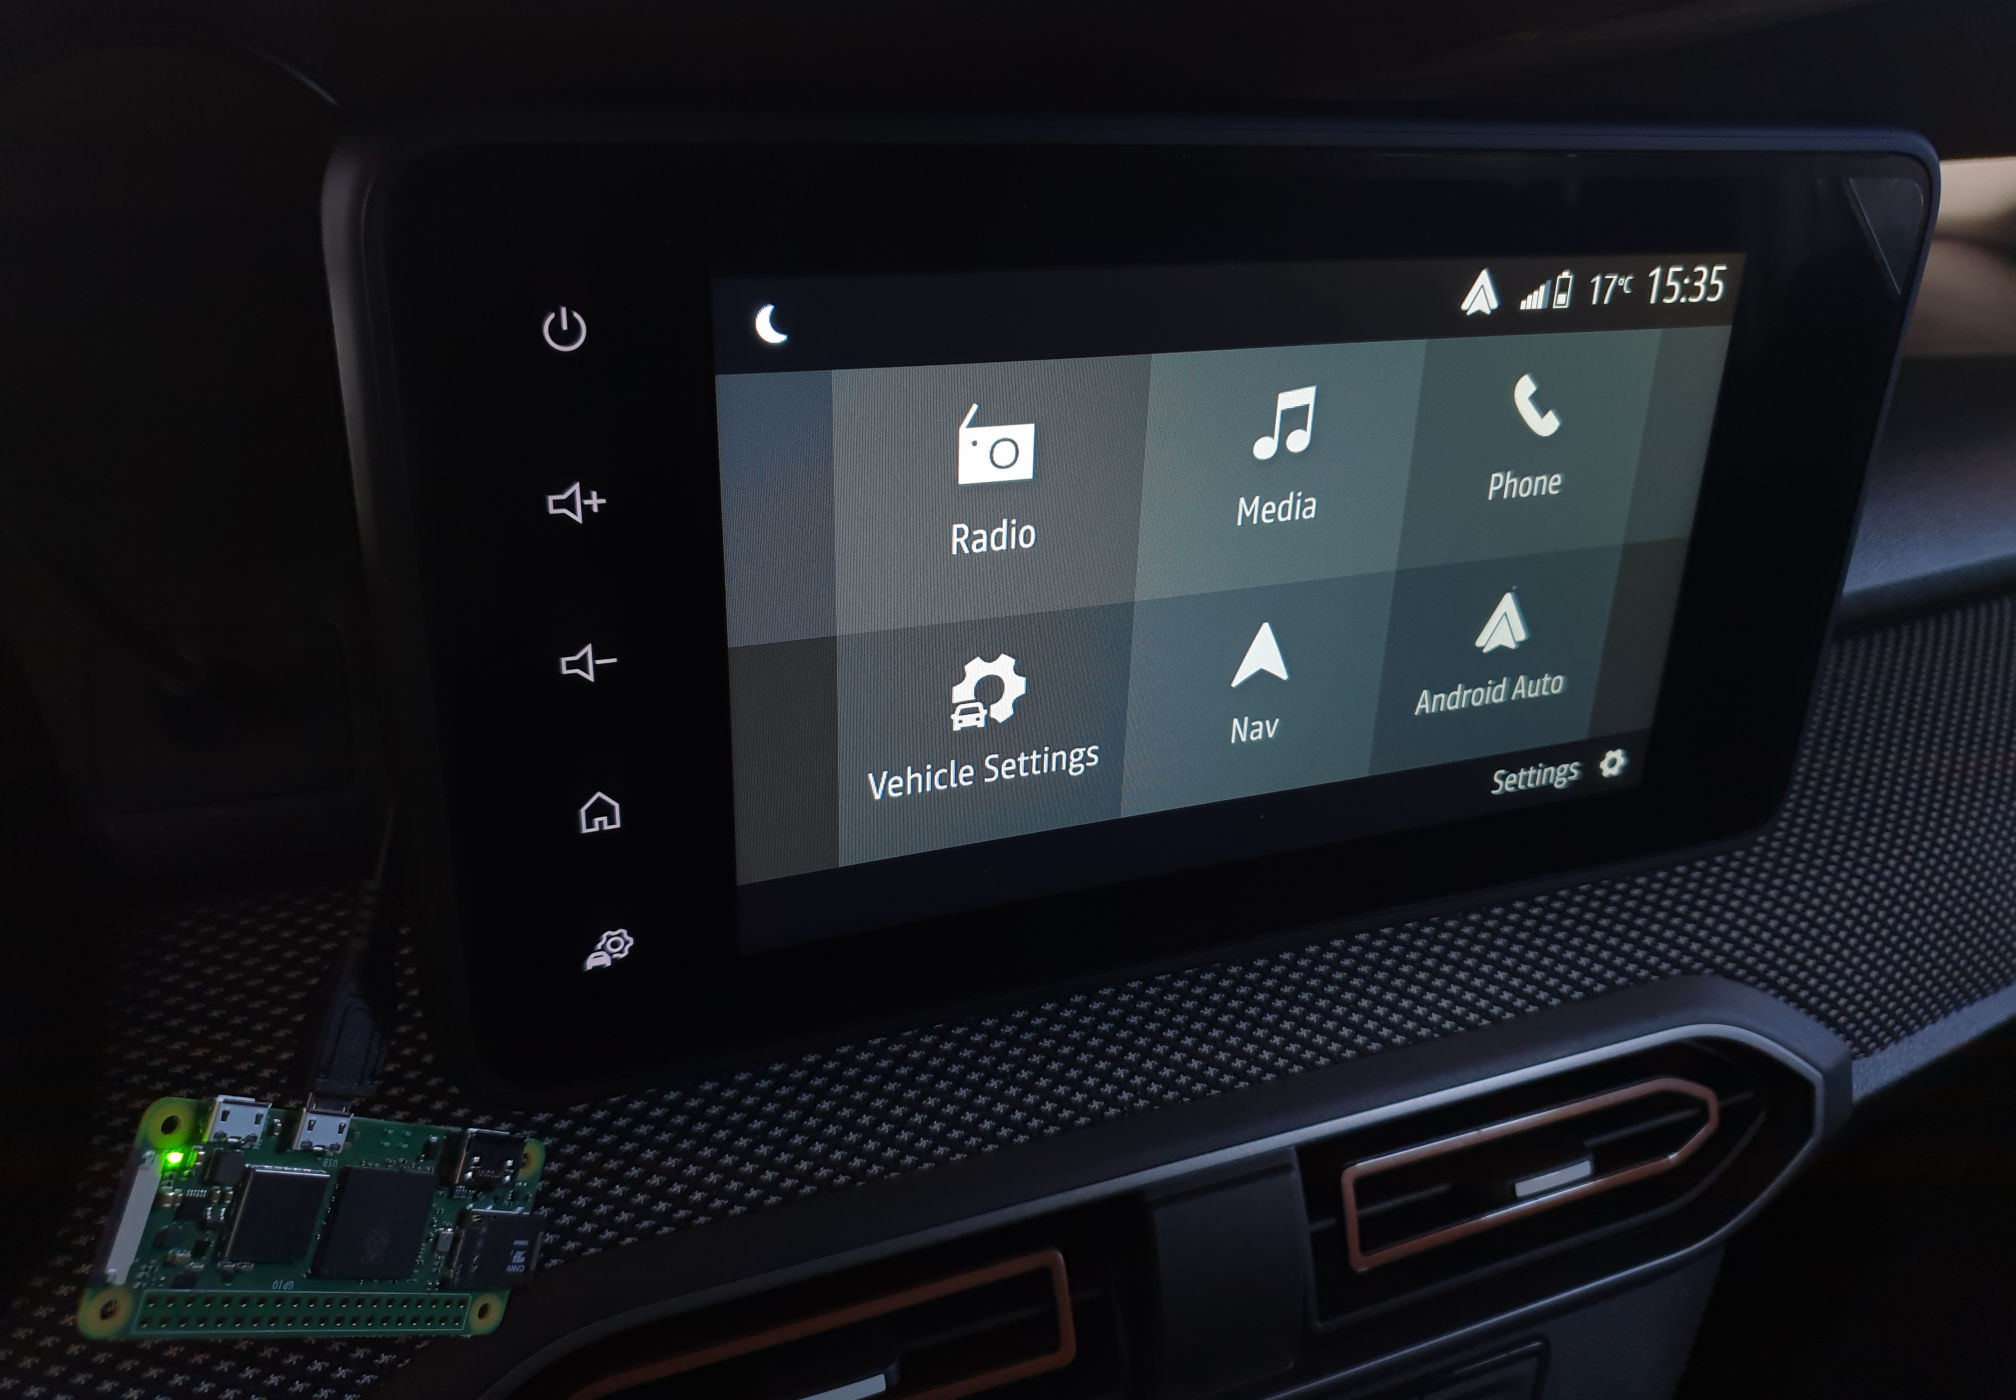
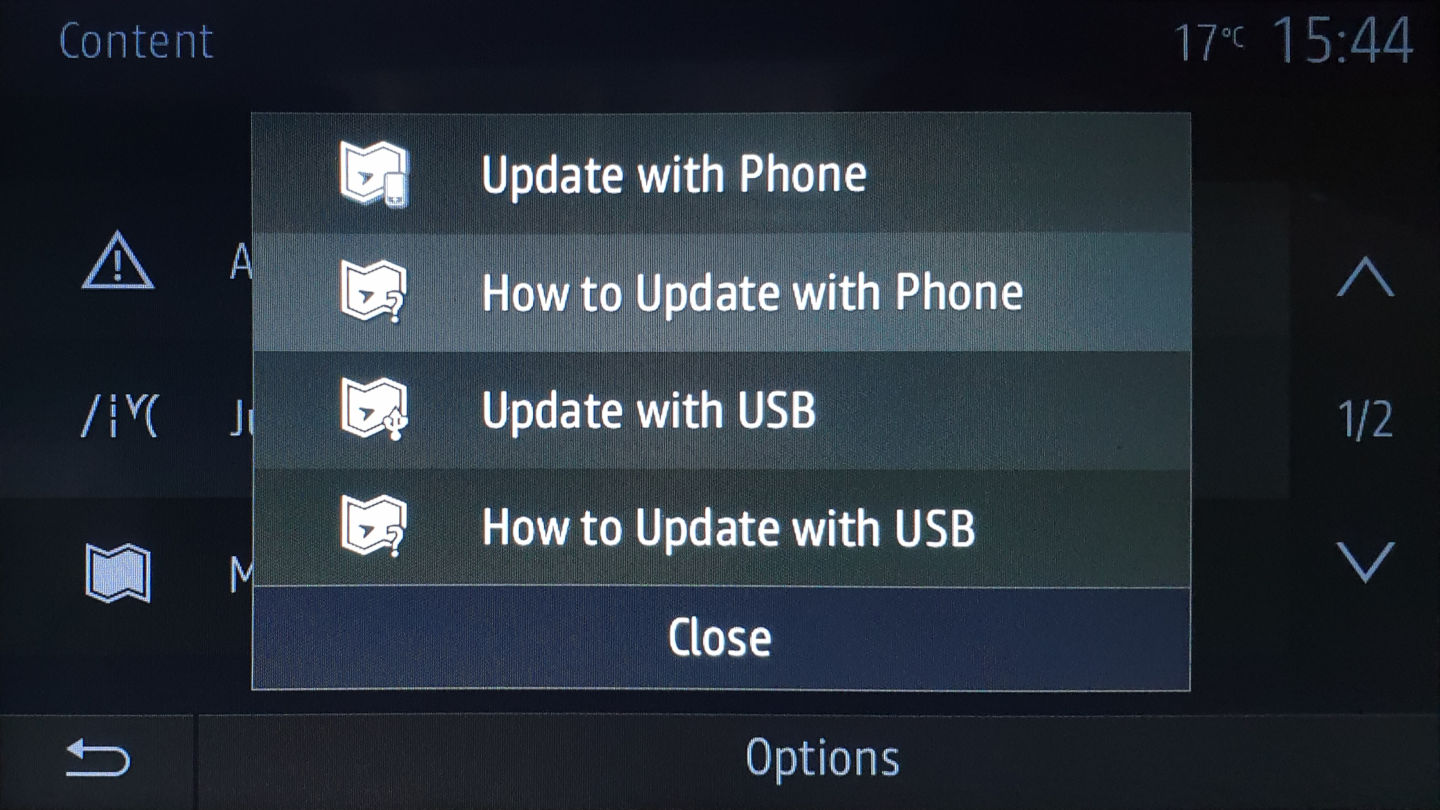
Setting up for an update…
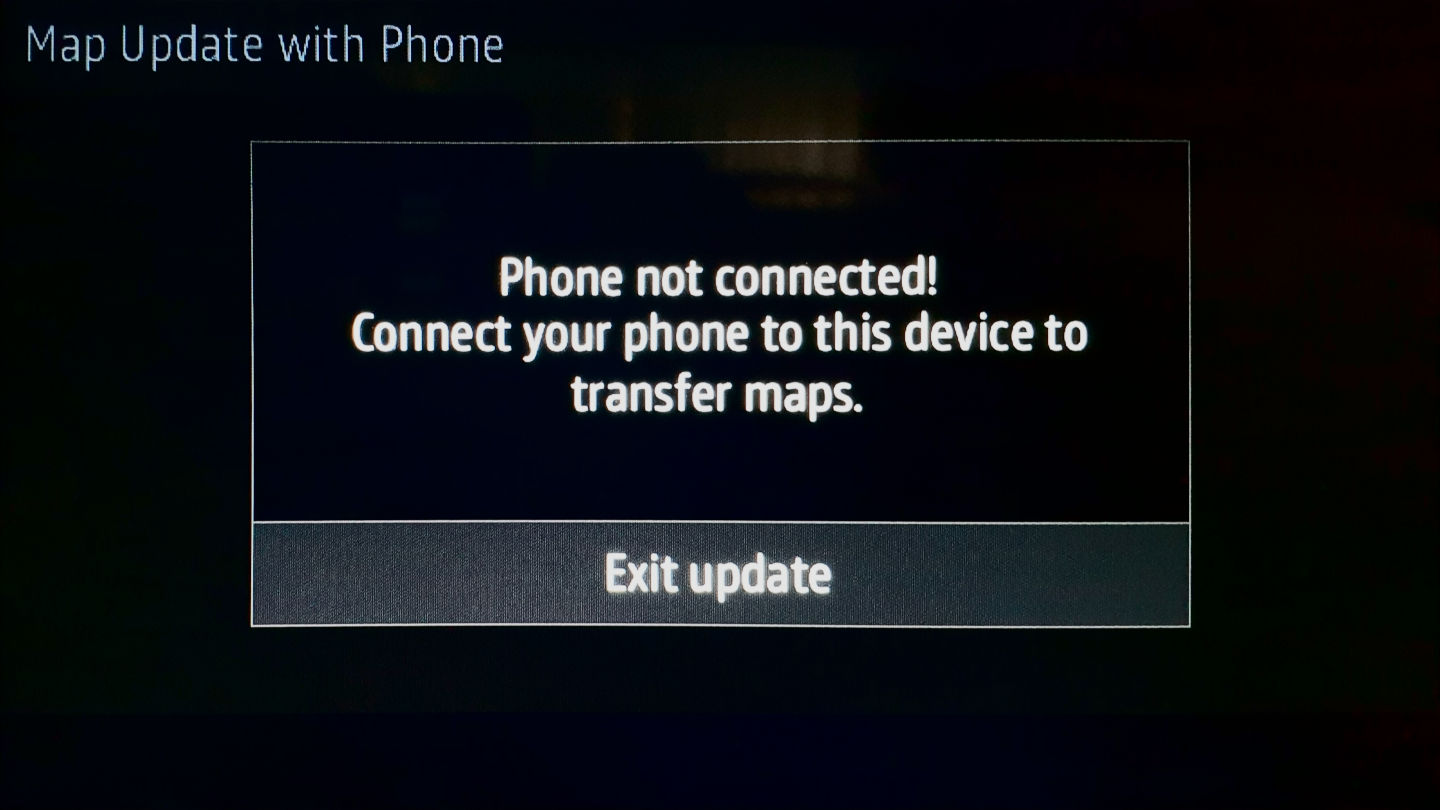
Time to put the RPi in gadget mode (I was connected to it using SSH)…
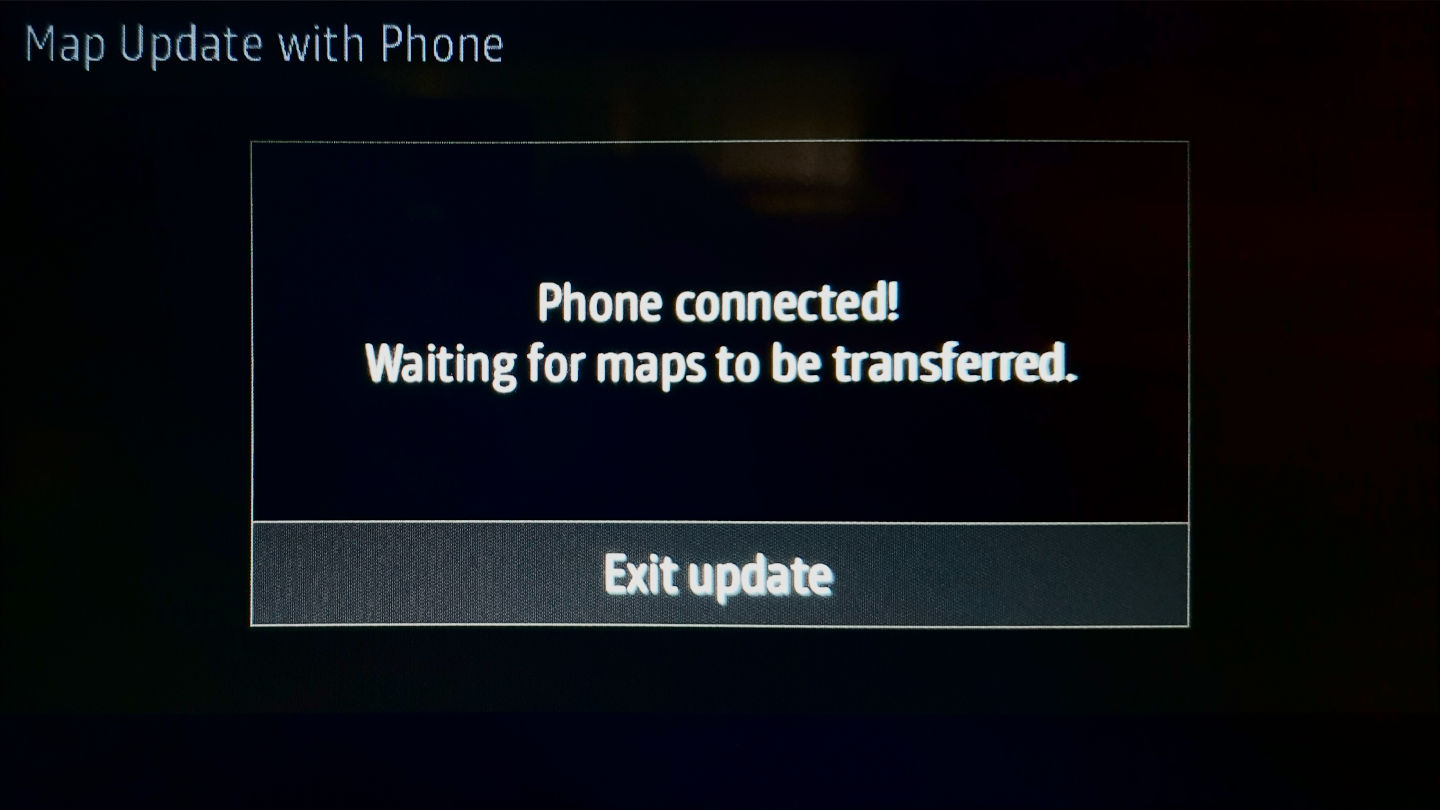
Sending and running the payload…
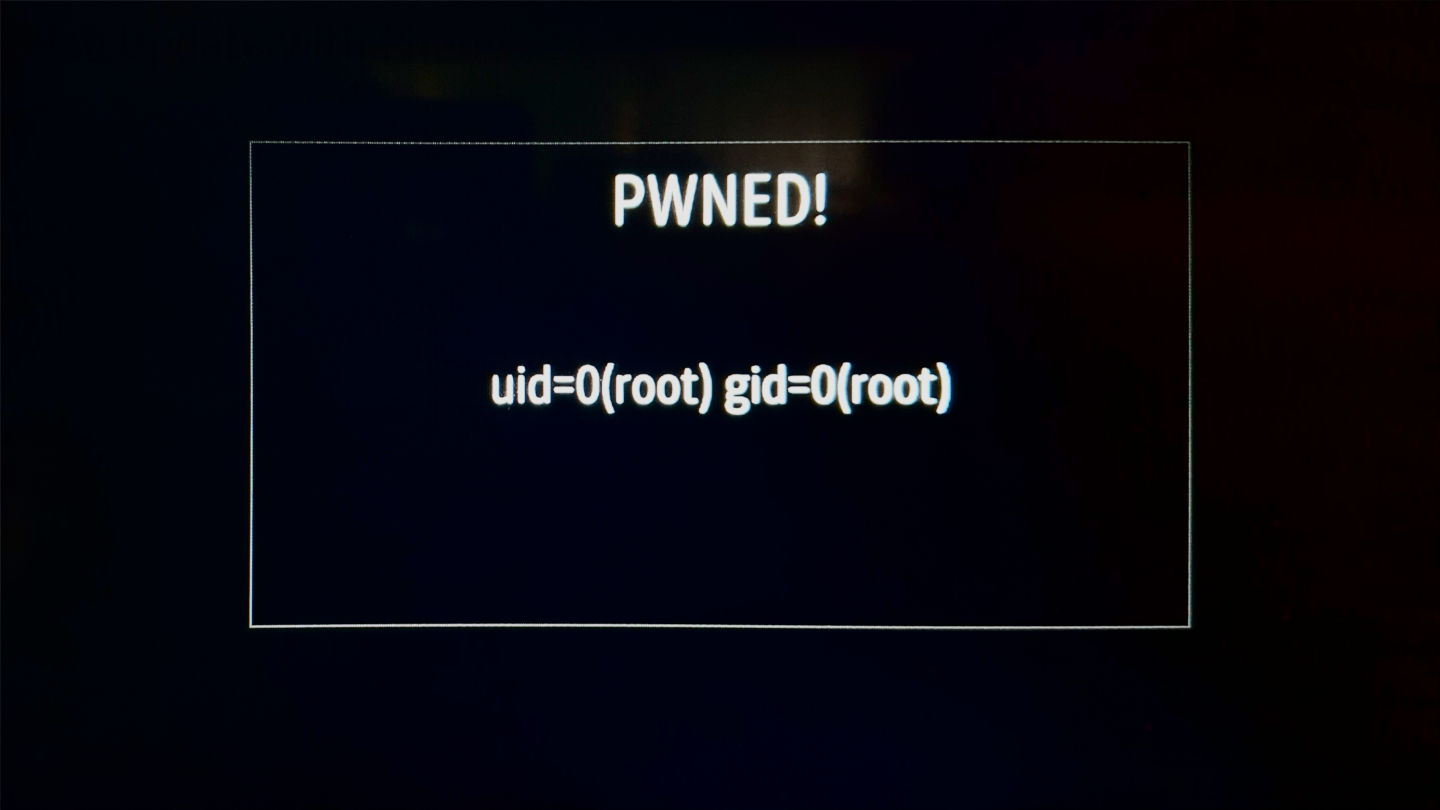
Success! I had root access.
That payload is just call to a specific D-Bus method that I found while analyzing the firmware, it shows a popup with custom text and title. The text is the output of the
idcommand.
Finally, after replacing the payload with something more useful, a simple socat bind shell and connecting back to it using Wi-Fi, I had full access.

If you didn’t follow it all the way, here’s a summary:
I used a Raspberry Pi in USB gadget mode to simulate an Android device connected to the head unit. The head unit thinks it’s accepting a navigation maps update from the “phone”, but because the update protocol allows for arbitrary file changes, I can issue commands to modify a specific file and inject a call to a bash script that gets run as root.
Code Please
Everything is on GitHub with more detailed instructions (it contains no proprietary code).
The key pieces are my implementation of the “nftp” protocol and the gadget configuration.
What’s Next?
This is just the beginning, now it’s time to really explore the system.
First, I’ll probably end up restoring the autorun.sh functionality, with a custom service, because I think that’s the easiest way to load software. That way I can keep all the new stuff on the drive and make as few changes to the system as possible.
One of the main things I would like to do is record car parameters, stuff like speed, fuel, location etc. It remains to be seen if I can easily access that information through D-Bus, or if I need to go deeper. I’m not interested in adding anything that requires my attention while driving.
But that’s for another time…
Some Extras (Could I have used SSH?)
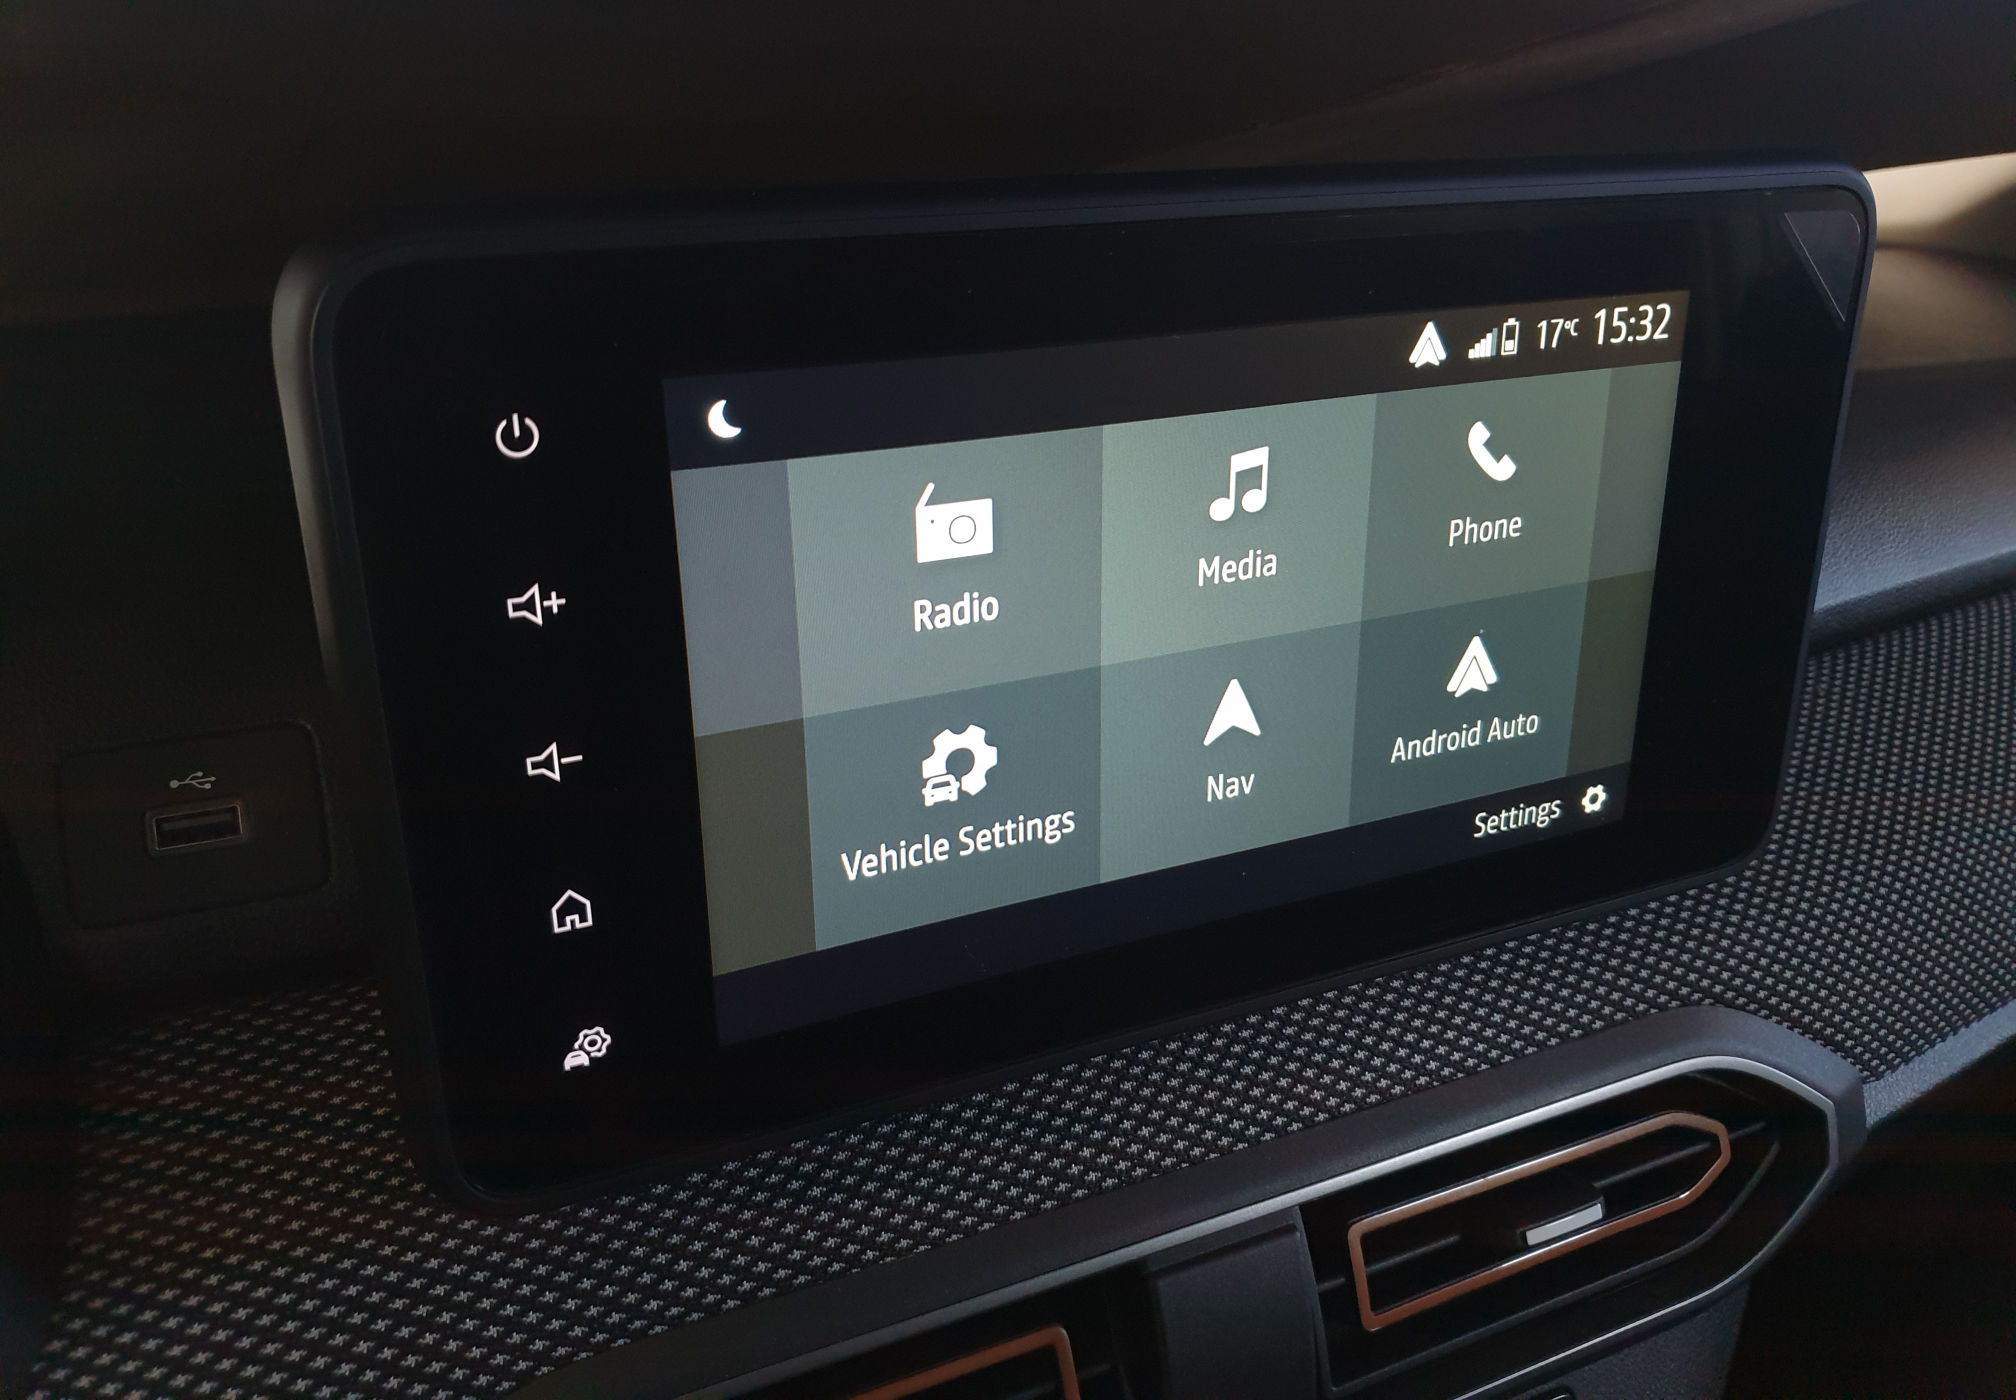
Two ports are open by default on the head unit, an SSH server, and some Apple service, probably related to CarPlay (Server: AirTunes/320.17.6), I didn’t really explore that.
But I tried cracking the /etc/shadow root password from the update file using hashcat / john with some rules and password lists. I’m not an expert doing this at all, I don’t even know if I was doing it right, and was not successful.
Not that it matters now, I could just change the root password or add a new user.
